
Hey, I’m Todd
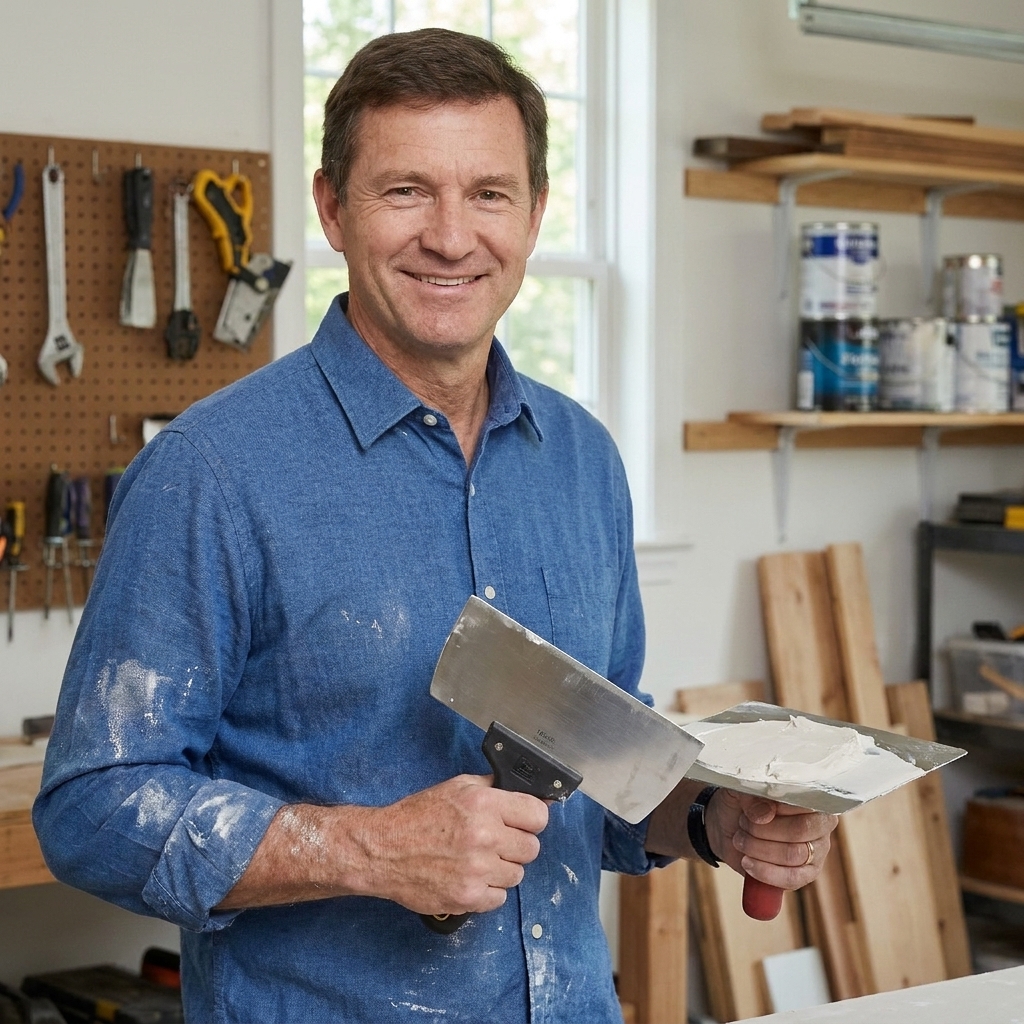
Welcome to Tape & Mud. I’m Todd Kramer, and I’m the guy who actually enjoys the slow, picky part of drywall work: the taping, the mudding, the sanding, and that final pass where the wall stops looking “repaired” and starts looking like nothing ever happened.
I’m an avid DIYer and home improvement nut with more than a decade of hands-on drywall repair and finishing under my belt. Most of that experience comes from living in real houses with real problems. I’ve patched everything from hairline cracks that only show up when the sun hits the wall at 4 p.m., to the classic doorknob-through-drywall situation, to big ugly access holes left behind after plumbing and electrical work.
If you’re here because you tried to fix a wall and ended up with a lump, a ridge, or a dusty disaster, you’re in good company. Drywall can be incredibly frustrating at first. The good news is it’s not magic. It’s a set of repeatable techniques, and the biggest “secret” is patience.
Where this started
I grew up helping my family remodel older, rundown properties. We were always tearing out something, fixing something, or trying to make a tired room feel clean and solid again. I learned early that drywall seams and patches can make or break a space. You can paint a room a beautiful color, put in nice trim, hang new light fixtures, and still have the whole thing look rough if the wall finish is wavy or the seams flash through.
Back then, I didn’t have the words for it, but I was learning the value of tight knife work and good feathering. Over the years, I got more and more absorbed in the details: how different compounds spread, how long to wait between coats, when to sand versus when to scrape, and why one extra pass with a clean knife can save you a lot of sanding later.
Why I built Tape & Mud
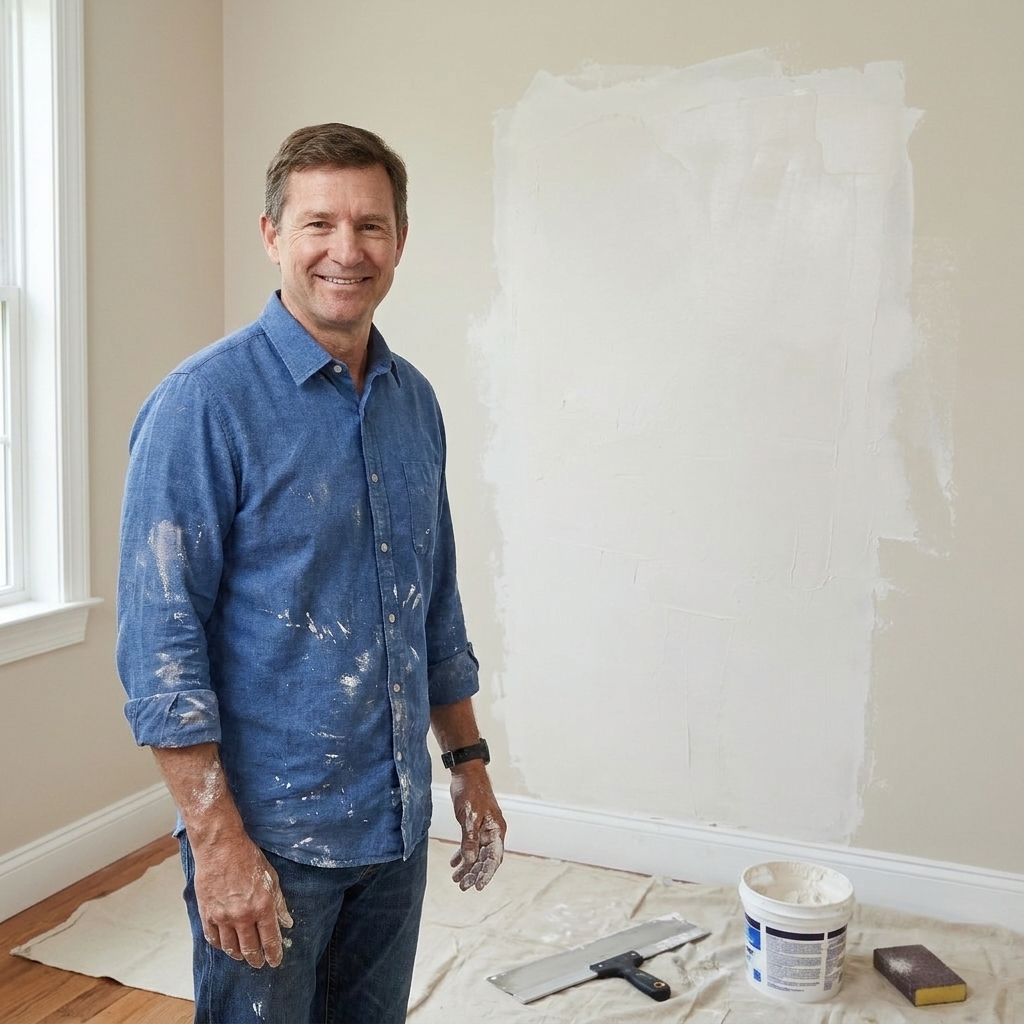
I created tapemud.com because I kept seeing the same pattern when friends and neighbors asked for help: most people aren’t scared of the repair itself. They’re scared of the finish. They can cut a square, screw in a patch, even hang new drywall. The moment joint compound comes out, confidence drops.
This site is my way of walking you through the parts that are hardest to learn from a product label or a two-minute clip. I focus on what actually makes the repair disappear:
- Tool choice that keeps things manageable. Not fancy, just the right sizes and a few “why didn’t I buy this sooner” items.
- Knife technique. Where to put pressure, how to hold the blade, and what a clean edge really looks like.
- Coat strategy. Thin coats, wider each time, with enough drying time to keep you from chasing your tail.
- Texture and paint reality. Because matching a wall is often a finish problem, not a patch problem.
My goal is simple: help you get a glass-smooth, invisible repair without needing professional tools or a professional’s patience on day one.
What to expect here
I write like I’m talking you through a weekend project in the driveway: practical, step-by-step, and methodical, without confusing jargon. Along the way, I test different compounds and sanding sponges because beginners need forgiving materials. The “best” product on paper is not always the easiest product to learn with.
Most guides on Tape & Mud fit into a few core areas:
- Tools, Materials & Prep: what to buy, what to skip, and how to set up so you are not cleaning dust out of everything you own.
- Patching & Hole Repair: small holes, medium holes, and the bigger repairs that need a patch you can screw to.
- Taping & Mudding: seams, corners, coat timing, and how to feather edges so they vanish after paint.
- Texture Matching & Blending: the part people dread, with realistic techniques to make the new area blend into the old wall.
If you’re not sure where to start, I’d begin with prep and tools, then move into patching, then mud work, then texture. That order saves a lot of frustration.
My approach
Drywall finishing rewards calm, controlled habits. Here are the principles I lean on every time:
- Wider beats thicker. A thin coat spread wider blends better than a thick coat you try to sand flat.
- Let the compound do the work. Mix it right, keep it clean, and do not overwork it as it starts to firm up or skin over.
- Sand less by knifing better. The cleanest repairs come from smooth passes, not aggressive sanding.
- Stop chasing perfection too early. Each coat has a job. The first coat fills. The next coats smooth and feather. The final coat is for touch-ups and tiny flaws.
Safety and dust
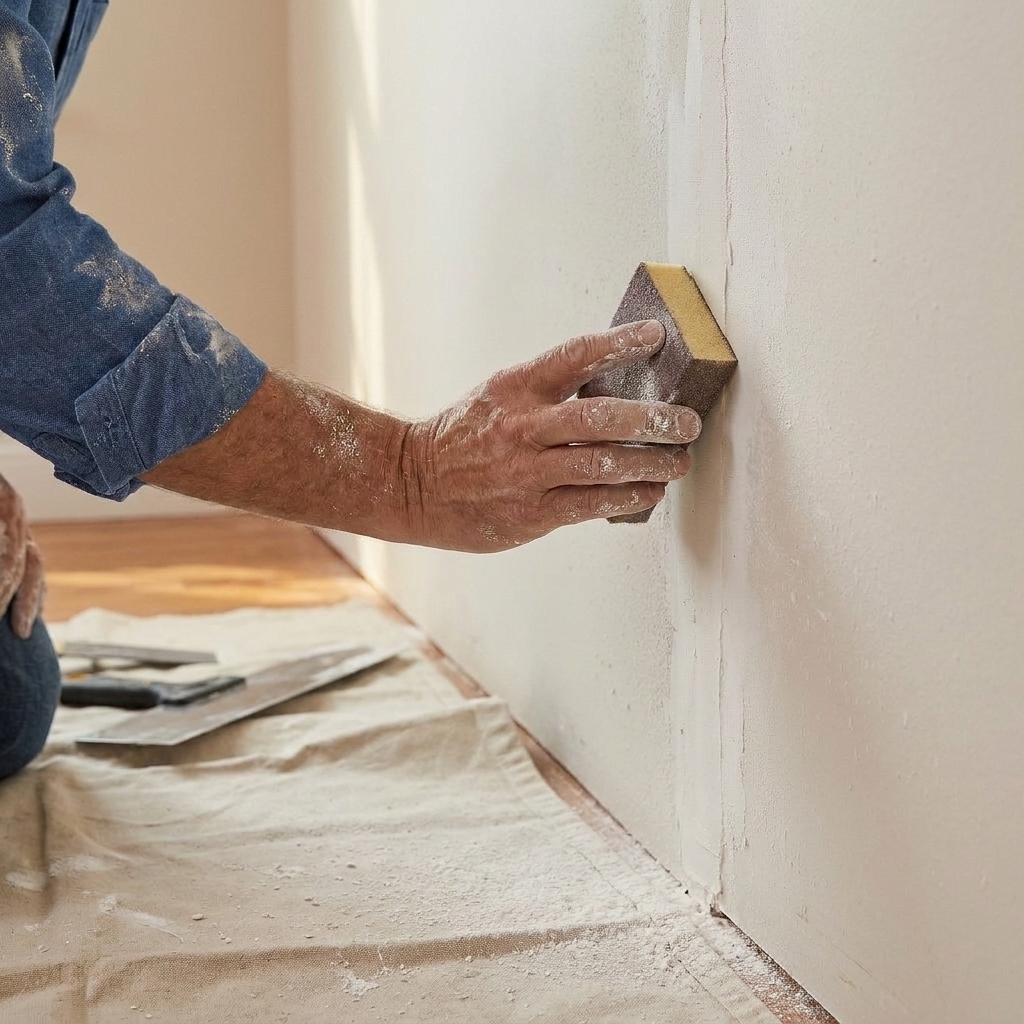
Drywall dust is real, and it gets everywhere if you let it. I try to treat dust control like part of the finish work. Basic habits help a lot: wear eye protection, use a properly fitted dust mask or respirator when sanding, and cover or protect HVAC returns so you are not blowing fine powder through the whole house.
If you are working in an older home, slow down and be smart about what you are sanding or cutting into. Old paint and old materials can come with hazards that are bigger than a bad patch.
One more quick note on who I am: I’m sharing what has worked for me as a hands-on DIYer, not speaking as a licensed contractor. My goal is to help you get clean, repeatable results, and avoid the common mistakes that turn a simple repair into a week-long annoyance.
Questions or corrections
I want this site to be useful in the real world, not just technically correct. If you have a question about your specific wall situation, or if you notice something that needs correcting, I genuinely want to hear about it. The best way to reach me is through the contact form at /contact/.
For the fine print on how this site handles information and site use, you can read the Privacy Policy and Terms of Service.
Thanks for stopping by. Grab a knife, take your time, and remember: most drywall repairs look rough halfway through. The invisible part happens in the last two coats.